To make sure that your mailing piece goes smoothly through the postal stream and gets delivered on time, make sure your design complies with USPS postal addressing standards. There are just a few issues you need to address (no pun intended!).
Mailing panel
For First-Class or Standard-Mail, the addressing block must always be positioned parallel to the long dimension of the mailpiece. See the diagram below for the exact placement of each element of the mailing panel.
Return Address
Tells the USPS where the sender wants the mail returned if it’s undeliverable. Preferred return address placement is the upper left portion of the mailpiece or the upper left part of the address area—on the side of the piece bearing postage.
Delivery Point Address
Is the location to which the USPS is to deliver a mailpiece. The address of the recipient must be on the side of the piece bearing postage. The address must be printed in all capital letters, no punctuation, at least 8pt. type, one space between ‘City’ and ‘State’, two spaces between ‘State’ and ‘Zip’, using simple fonts, left justified, black ink on light paper, no reverse type.
Since postal scanners read the address from the bottom up, it is important to maintain your fields in the following sequence:
Attention
Company
Street address (if the suite number cannot be on the same line, it MUST go on its own line ABOVE the street address)
City / State / Zip Code
Postage
Depending on the class of mail you will be using, postage can be paid with live stamps, pre-canceled stamps, meter imprint or permit imprint (‘indicia’). If you have a large mailing and require stamps, it is a good idea to let your mailhouse know ahead of time since they will need time to order the rolls from the USPS vault. The postage is positioned in the top right of the mailing panel.
Clear Zone
There is a barcode “clear zone” 4.75″(l) x .625″ (h) anchored on the lower right corner which must be kept clear of any printing or addressing.
Placement & Location
See diagram below.



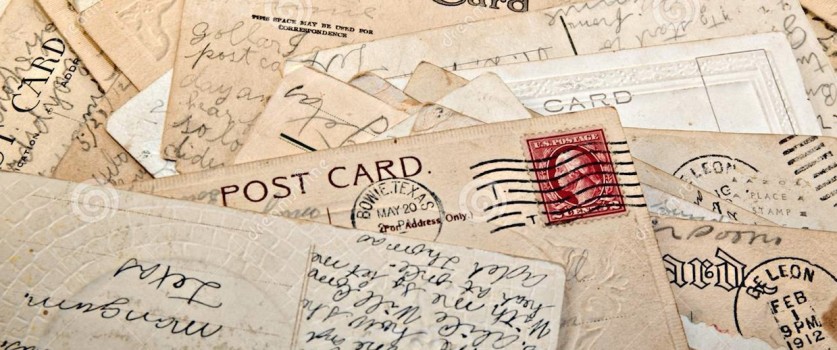
 Here is a solution which will allow you print on one side only, using a text or bond weight paper — and still deliver an elegant result.
 Historically, the French Fold dates back to the Middle Ages when invitations were produced by calligraphy. The paper would blot up the ink, and two-sided ‘printing’ wasn’t practical. With the advent of engraving in the 17th century the French Fold maintained its popularity as the process leaves an impression on the other side of the paper. Even as we have progressed to other technologies such as letterpress, offset lithography, and laser printing, the French Fold has retained its advantages.